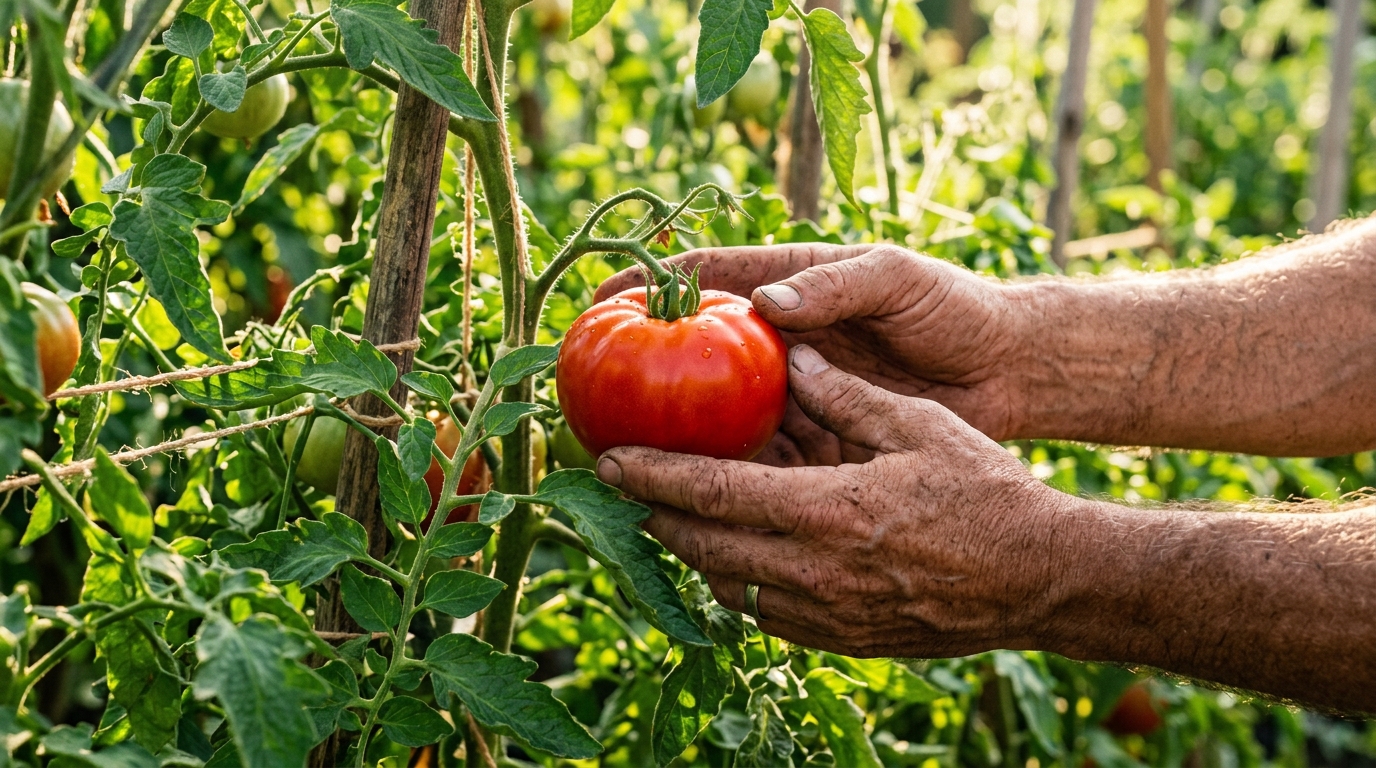
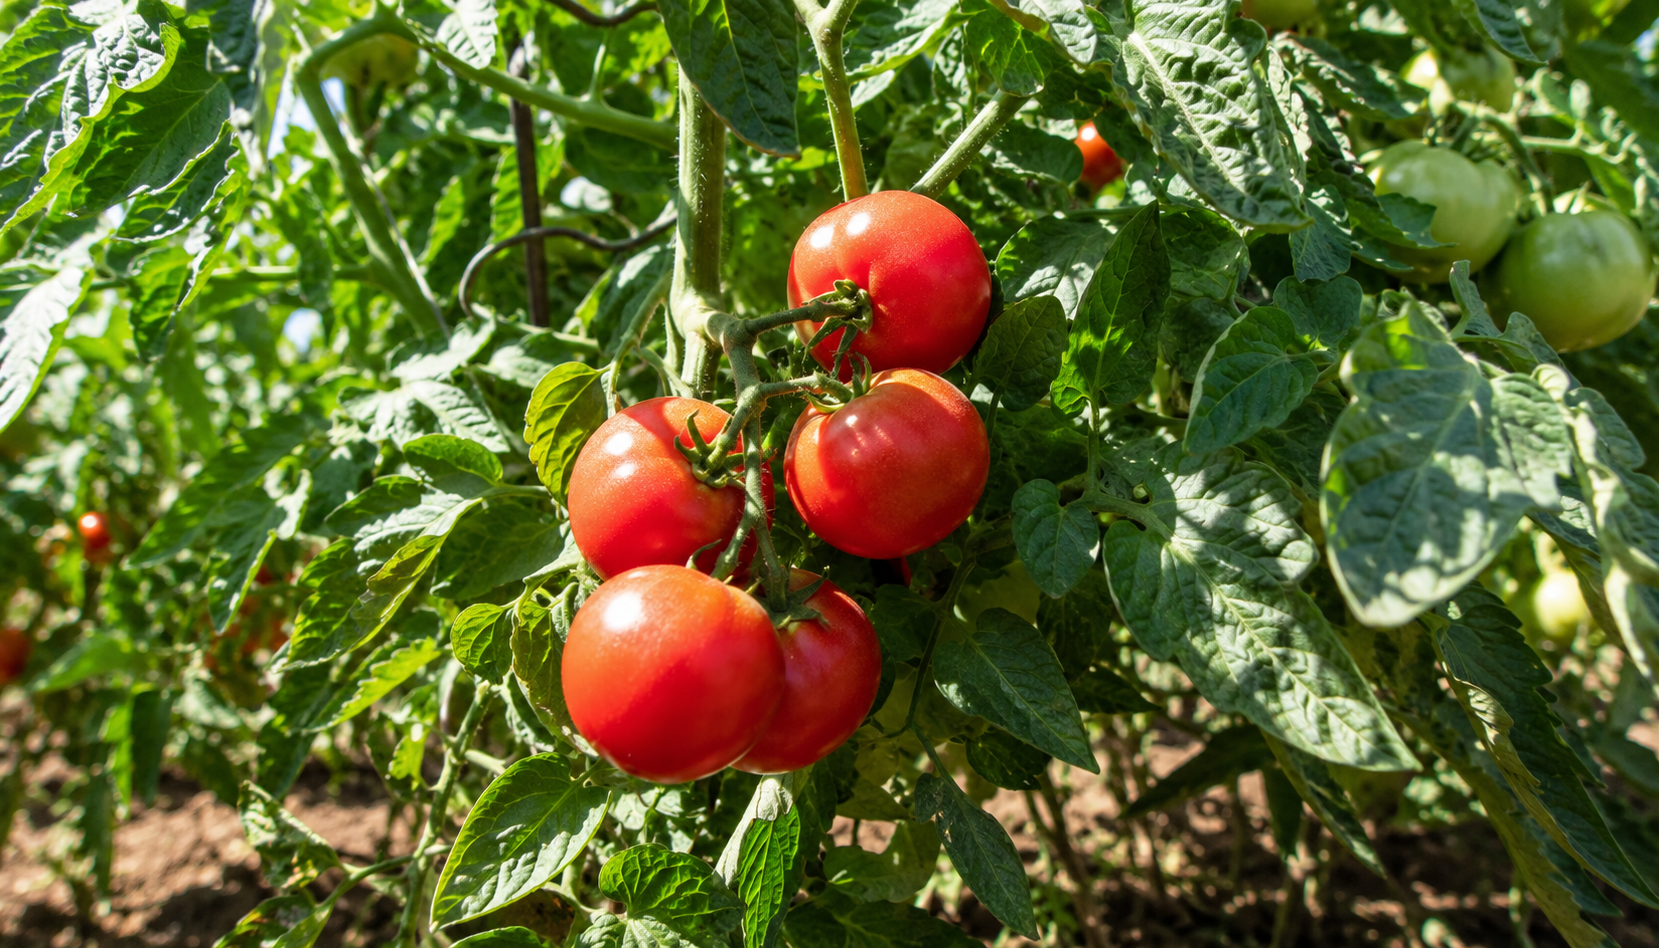
A Key Crop with Untapped Potential
1. Select varieties suited to the local climate
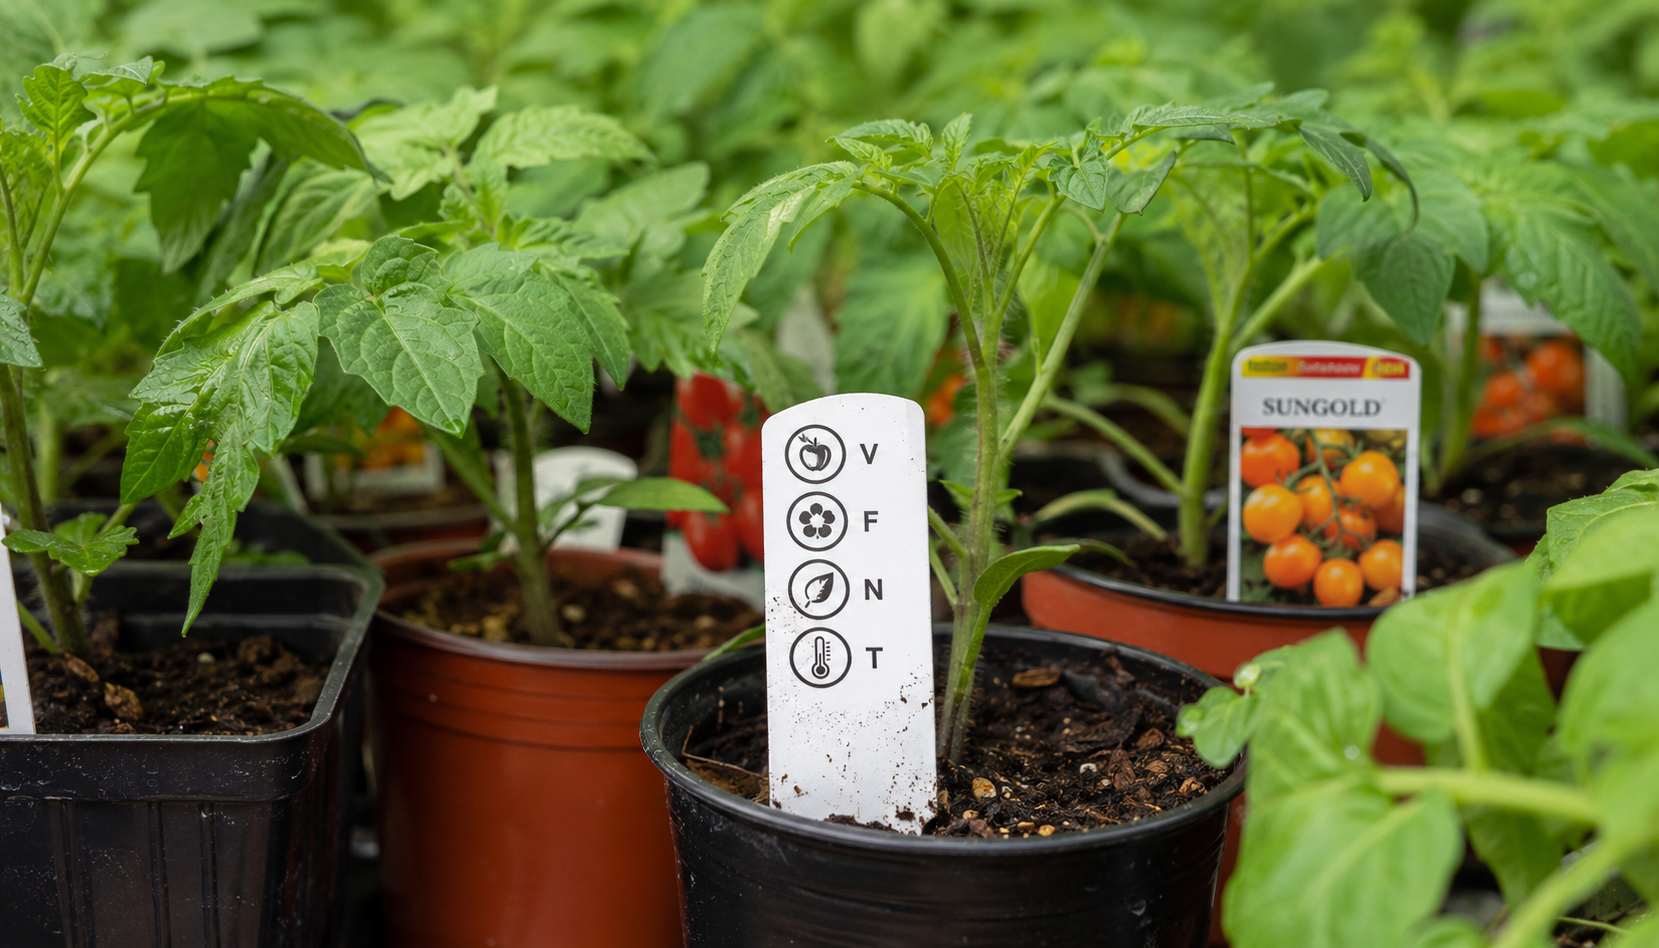
While garden centers are overflowing with options in the spring, the most important factor in your selection remains the variety’s compatibility with your immediate environment. Even before you start growing, it’s essential to keep in mind that some tomato varieties have been developed specifically to withstand long seasons of intense heat, while others are genetically engineered to thrive during shorter, cooler summers. Matching the type of plant to your region’s climate gives you a significant advantage even before a single seed is sown.
2. Start with Strong, Healthy Plants
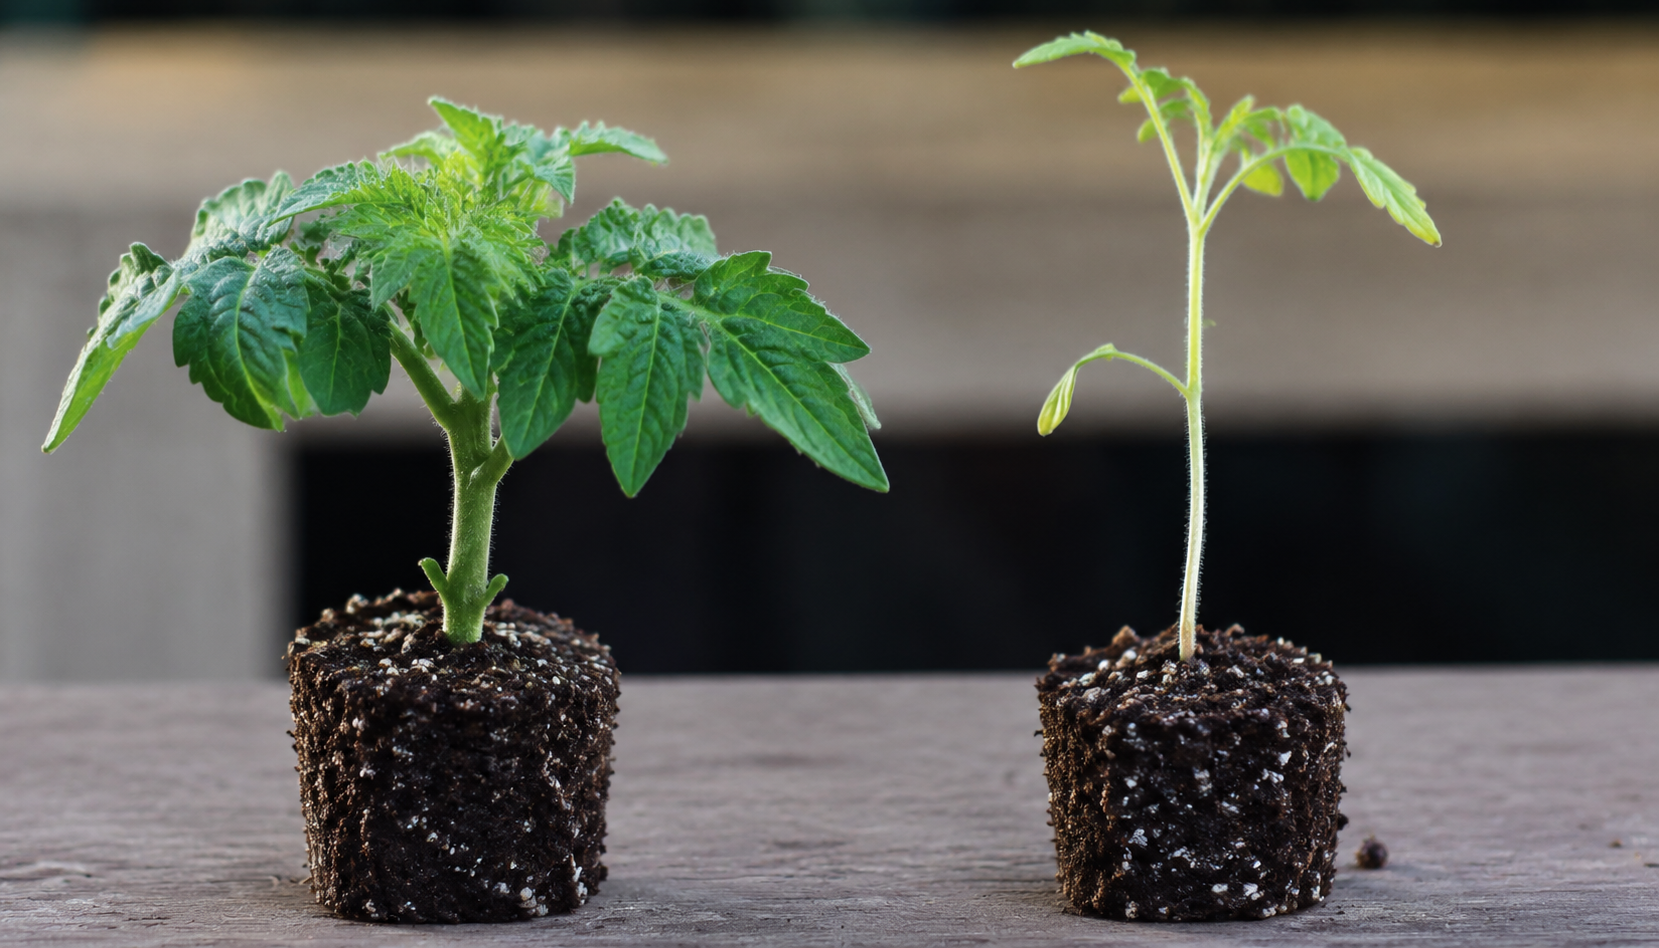
In the world of gardening, the success of two young plants grown on the same day in identical conditions often differs drastically by midsummer. The main cause of this disparity almost always lies in the plant’s initial health and vigor at the time of planting. A seedling with a thick stem, compact internodes, and deep green leaves indicates that it has benefited from adequate light and consistent nutrition. Conversely, a frail, pale seedling—one that has stretched toward insufficient light in an overcrowded tray—carries this disadvantage throughout its growth, frequently requiring an additional two to three weeks to establish roots properly.
3. Acclimate seedlings before planting outdoors
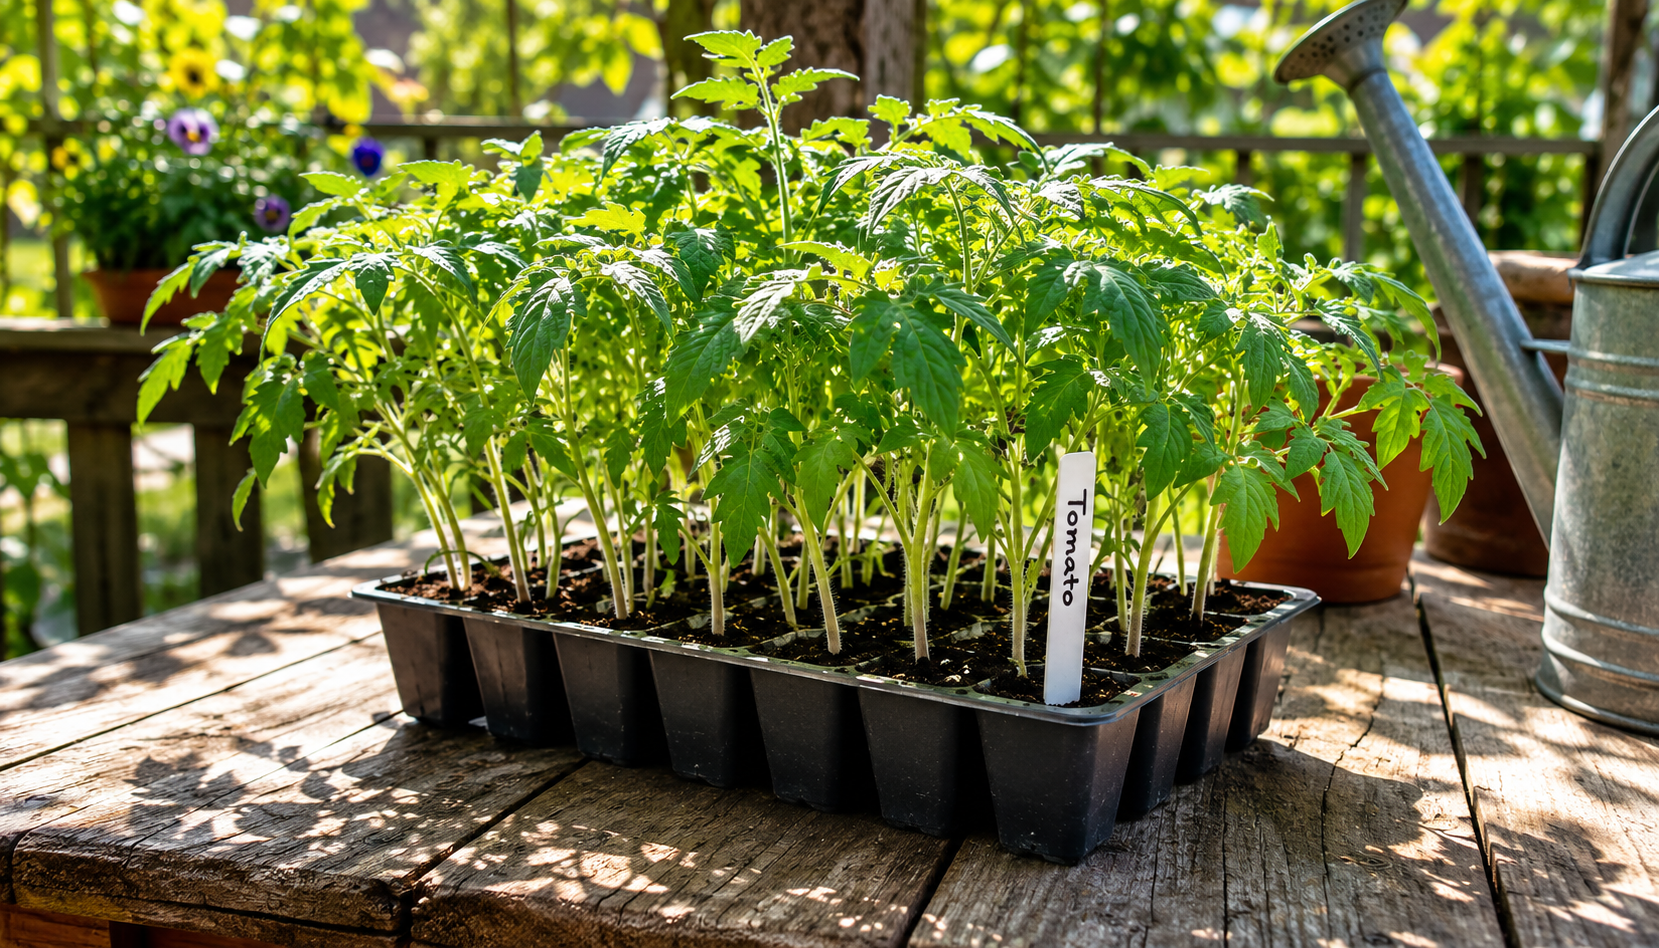
To avoid this disruption, gardeners should carry out a gradual transition over one to two weeks, a technique known as acclimatization. Although this is a critical step, it is very often overlooked in home gardening, leading to significant delays in the growing season. The process involves exposing the plants to the outdoors for increasing amounts of time each day. Start with one hour in the shade in a sheltered spot, then gradually increase the duration until the plants are exposed to full afternoon sun by the end of this period. Exposure to wind is just as important as the intensity of the sun: plants grown indoors without any breeze develop much more resilient and sturdy stems when they are gradually exposed to outdoor breezes—an essential trait when they have to support the weight of the fruit to come.
4. Plant in full sun for maximum yield
Before finalizing the location of your plantings, it is strongly recommended that you observe your garden for an entire day. A spot that appears to be bathed in light in the morning can easily lose several hours of direct sunlight in the afternoon due to shade cast by nearby trees or buildings, which will significantly hinder the plant’s growth. If your garden has limited sun exposure, cherry tomato varieties are an excellent alternative. These types of tomatoes, which produce smaller fruits, thrive much better in partial shade than large-fruited varieties, which require intense photosynthetic energy to develop their size and flavor profile.
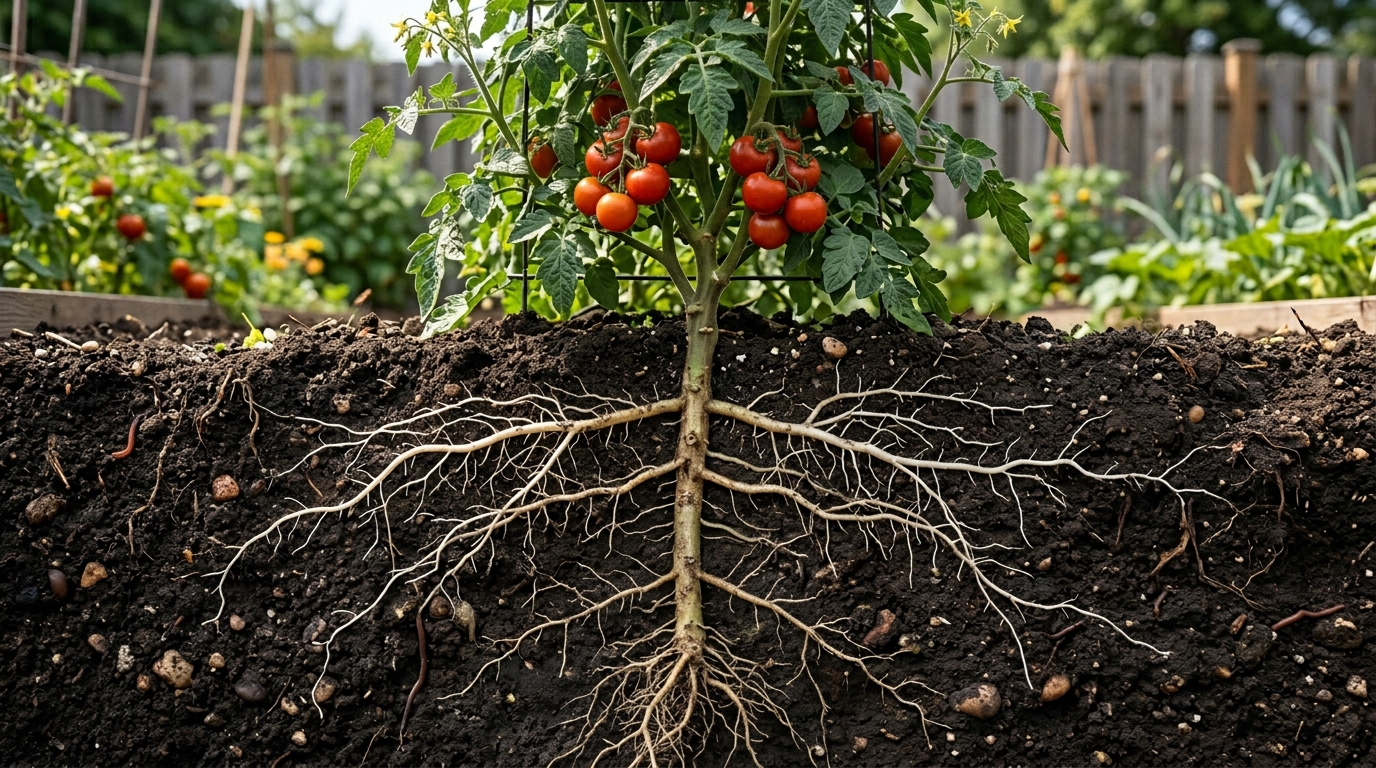
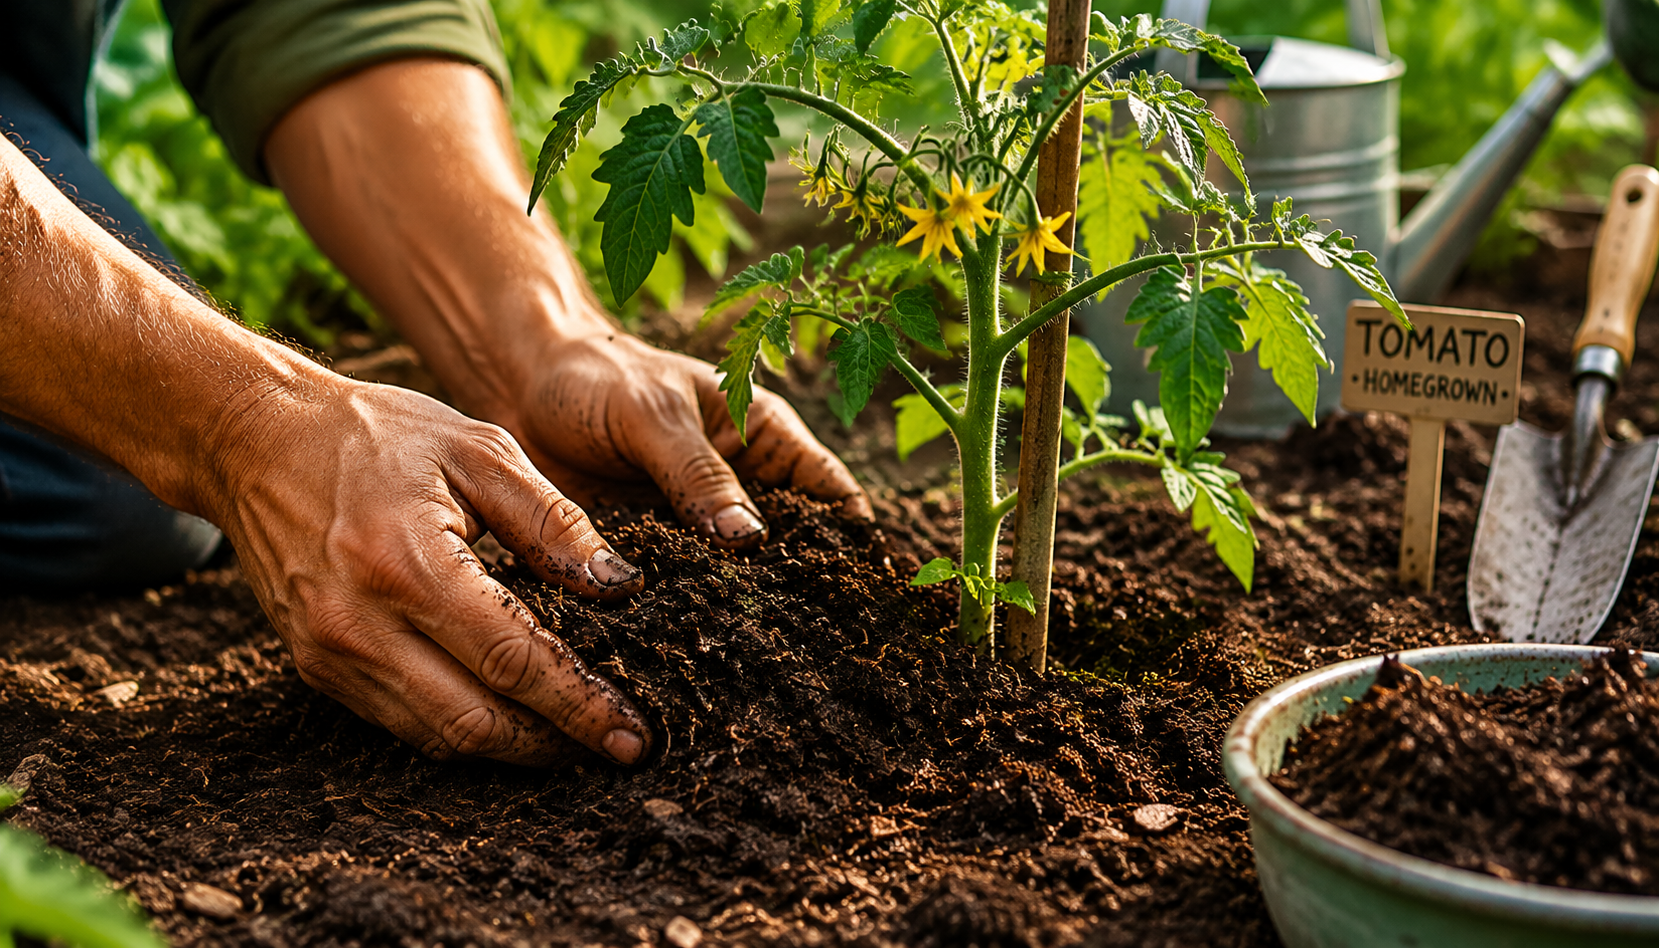
5. Plant Deep to Strengthen the Root System
6. Leave enough space for the plants to breathe
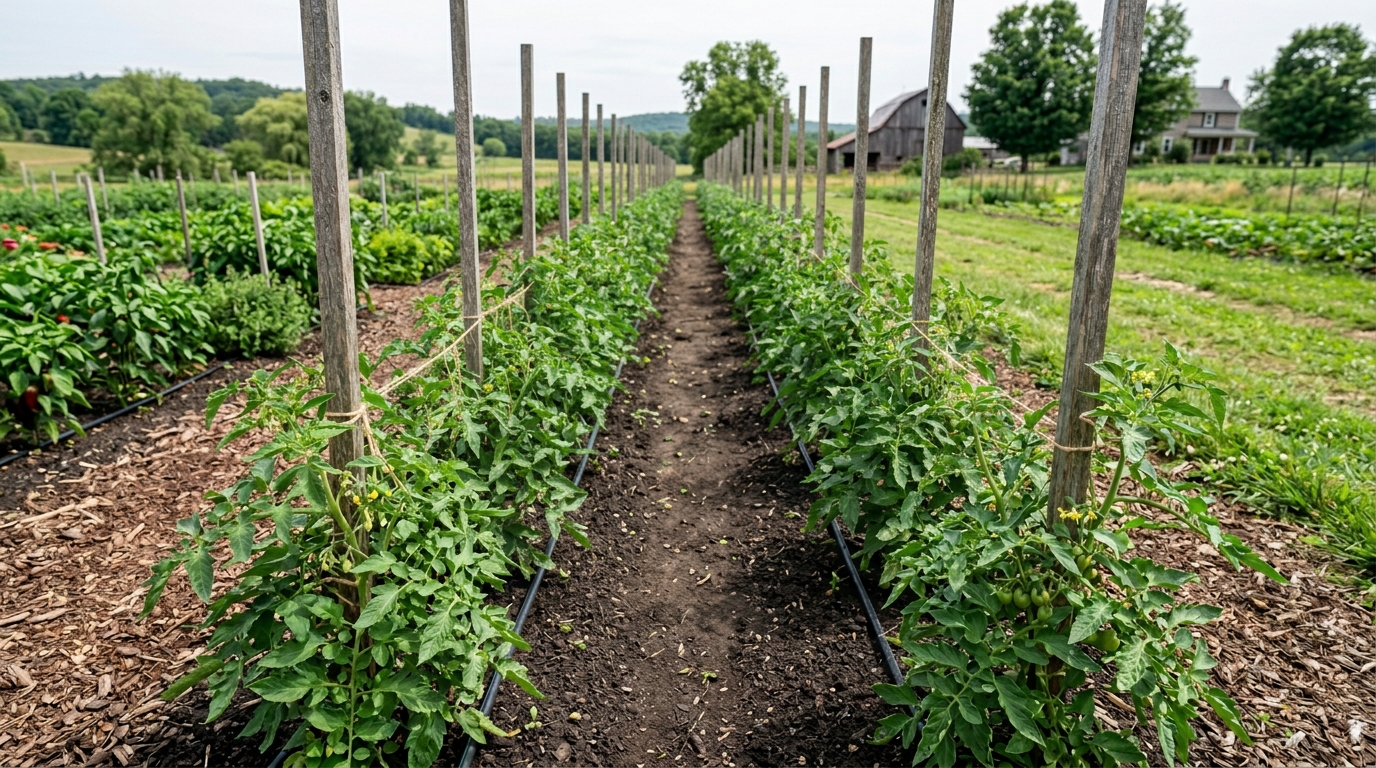
It’s always tempting to squeeze in an extra plant in a tight space, but tomatoes planted too close together consistently perform worse than those with adequate spacing. When plants grow too close to one another, the foliage becomes tangled and forms a dense canopy that prevents air from circulating freely. The direct result: the leaves remain damp longer after rain or watering, creating exactly the stagnant, damp conditions that fungal diseases need to spread rapidly throughout the crop.
Spacing also determines the amount of sunlight that reaches the inner and lower sections of each plant’s foliage. A properly spaced tomato plant receives light from multiple angles, which promotes much more uniform fruit production from the top to the bottom. Indeterminate varieties require a minimum spacing of 60 to 90 centimeters (2 to 3 feet) between each plant, with the largest varieties requiring even more space. Furthermore, well-spaced rows are much easier to maintain, which significantly reduces accidental damage to the stems when trying to make your way through an overly dense row.
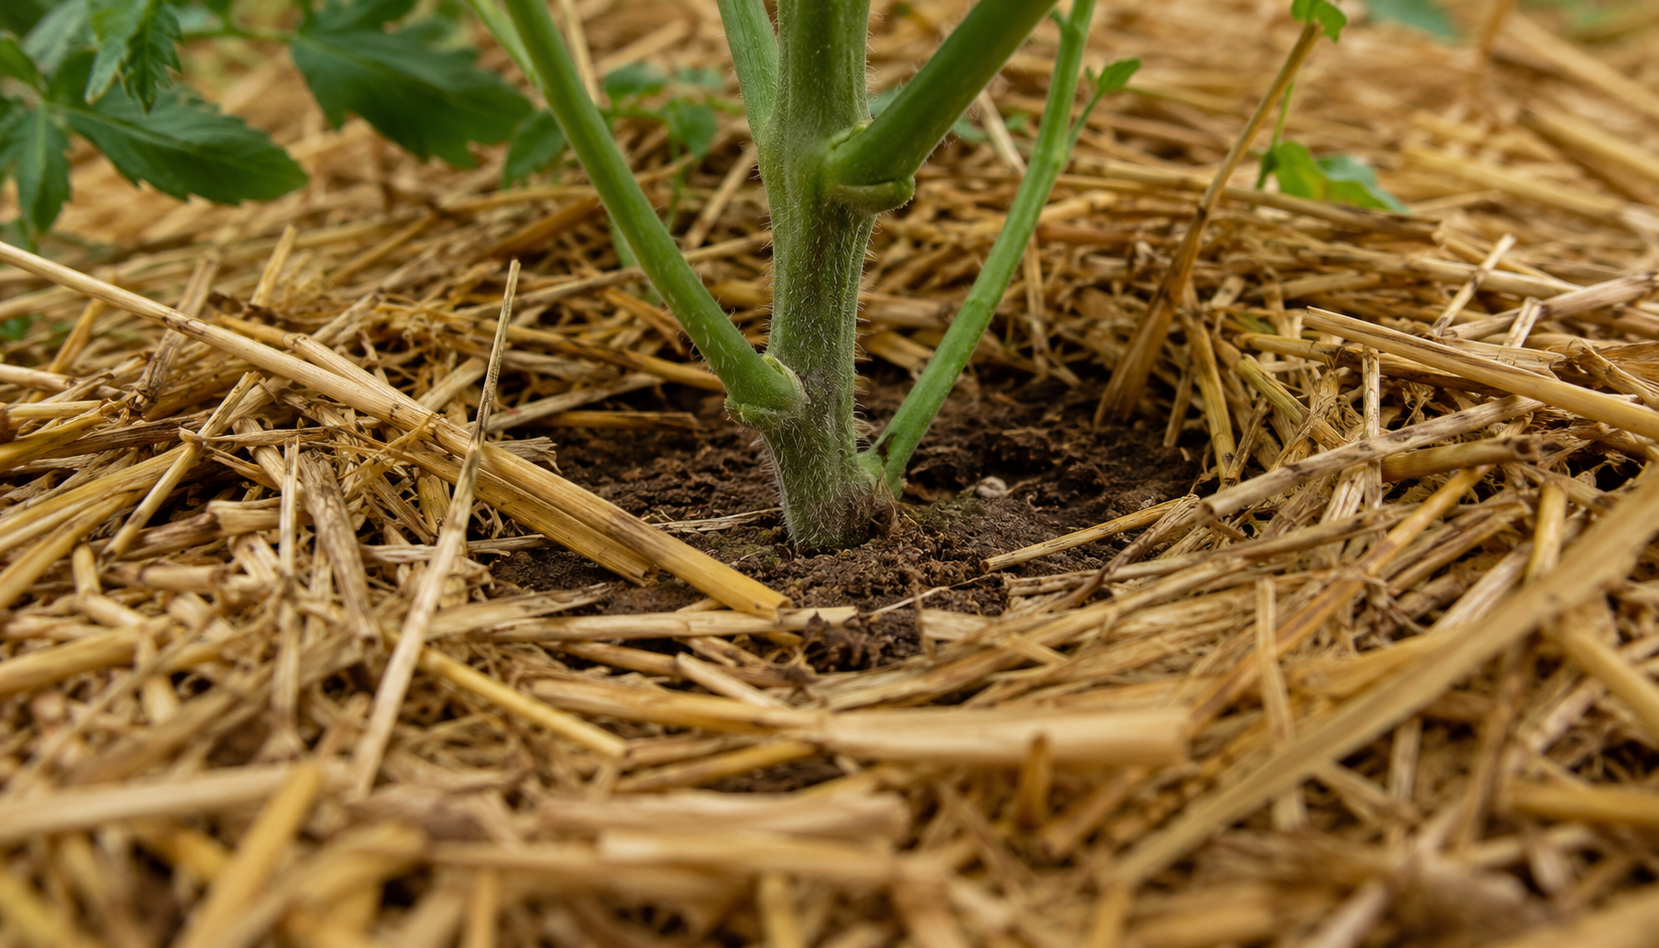
7. Use mulch to retain moisture and regulate soil temperature
8. Water regularly and deeply
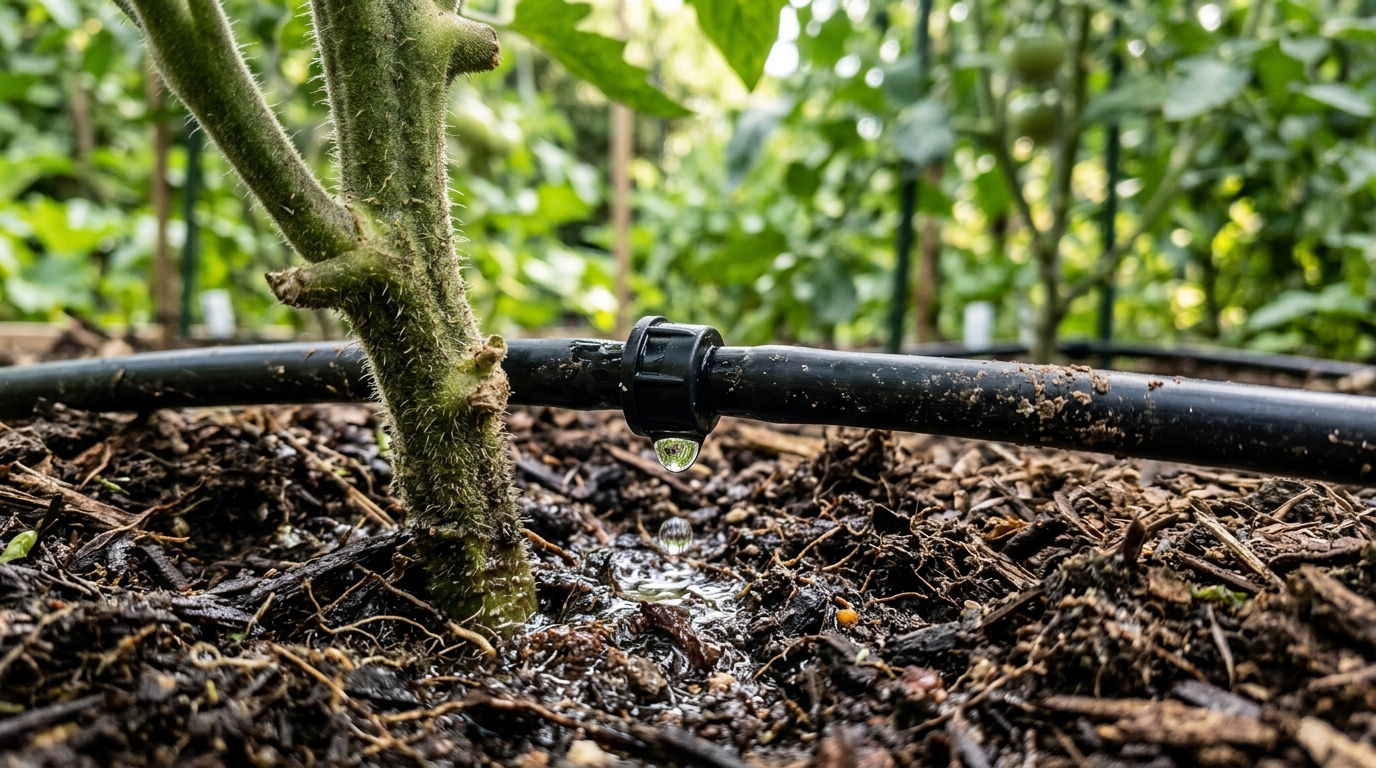
Two of the most common mid-season problems—apical necrosis (or black rot) and fruit cracking—share the exact same underlying cause: irregular soil moisture. Apical necrosis appears as a dark, sunken spot at the base of the fruit. It results from irregular calcium uptake caused by fluctuations in moisture levels in the root zone, not from a lack of calcium in the soil itself. Fruit splitting, on the other hand, occurs when a period of drought is suddenly followed by a massive influx of water, forcing the fruit to expand much faster than its skin can stretch.
Watering generously at the base of the plant rather than sprinkling water over the foliage helps keep the root zone consistently moist while keeping the leaves completely dry. One deep watering per week under moderate weather conditions—a frequency that should be increased during hot or dry periods—serves as a very reliable guideline. Using drip irrigation systems or micro-perforated hoses delivers water directly to the roots while minimizing moisture on the foliage. Checking soil moisture a few centimeters below the surface before each watering session allows you to tailor your schedule precisely to actual field conditions.
9. Feed plants according to their stage of development
Tomatoes are extremely heavy feeders, but applying fertilizer on a fixed schedule without considering their growth stage can backfire. The plant’s nutritional needs change significantly as it goes through the rooting, structural development, and fruit-forming phases. At planting time, a balanced fertilizer or a generous amount of well-decomposed compost supports early root and stem development. However, as soon as the first clusters of flowers open, the nutritional focus must change.
Phosphorus and potassium then become the top priority once flowering begins. These two elements directly support fruit set, fruit development, and the accumulation of sugars that will determine the tomato’s final flavor. Continuing to apply a nitrogen-rich fertilizer during the fruiting phase causes the plant to produce lush foliage at the expense of tomato production. According to Gardening Know How’s recommendations, it is advisable to switch to a formulation lower in nitrogen and higher in potassium as soon as the first flowers appear, and to feed the plant in small, regular amounts throughout the season rather than applying a single large dose at the beginning of the growing cycle.
10. Stake Early and Support Growth
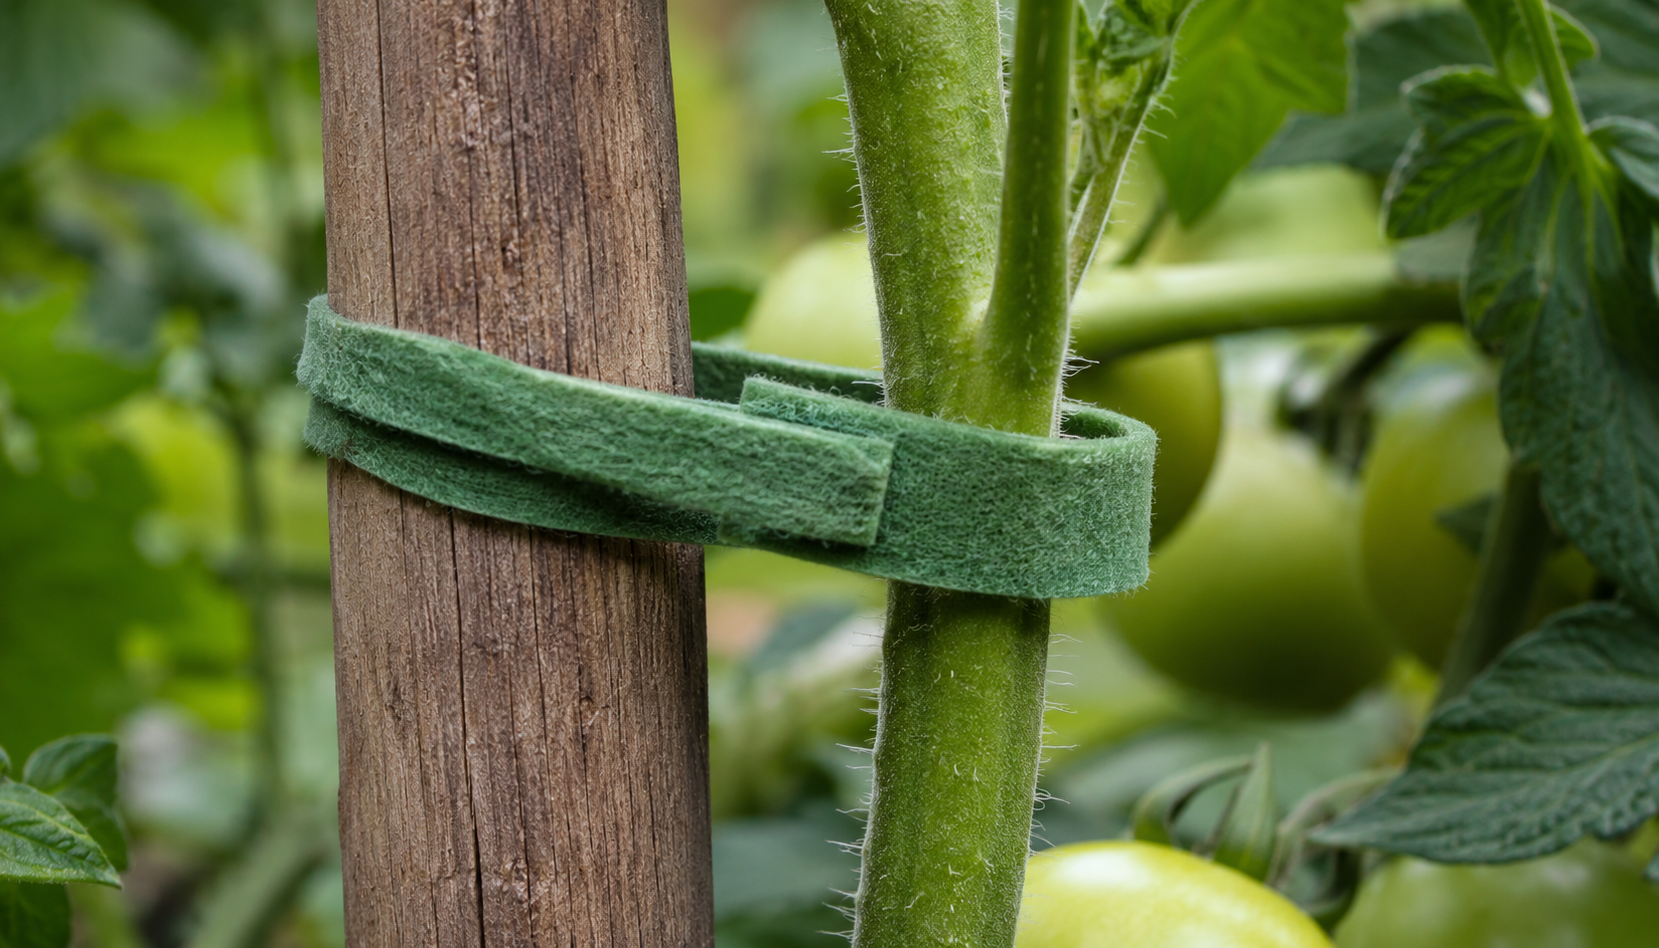
Installing support structures well before the plants need them helps prevent serious root disturbance that occurs when stakes are driven into the soil around an already established root zone. A stake placed right next to a freshly transplanted seedling causes only minimal disturbance. In contrast, the same stake driven forcefully into the ground next to a mature plant risks severing roots that have taken weeks to develop. Whether you use stakes, cages, or trellises, all these options are effective; the right choice depends primarily on the variety you’re growing and the space you have available.
11. Prune suckers on indeterminate varieties
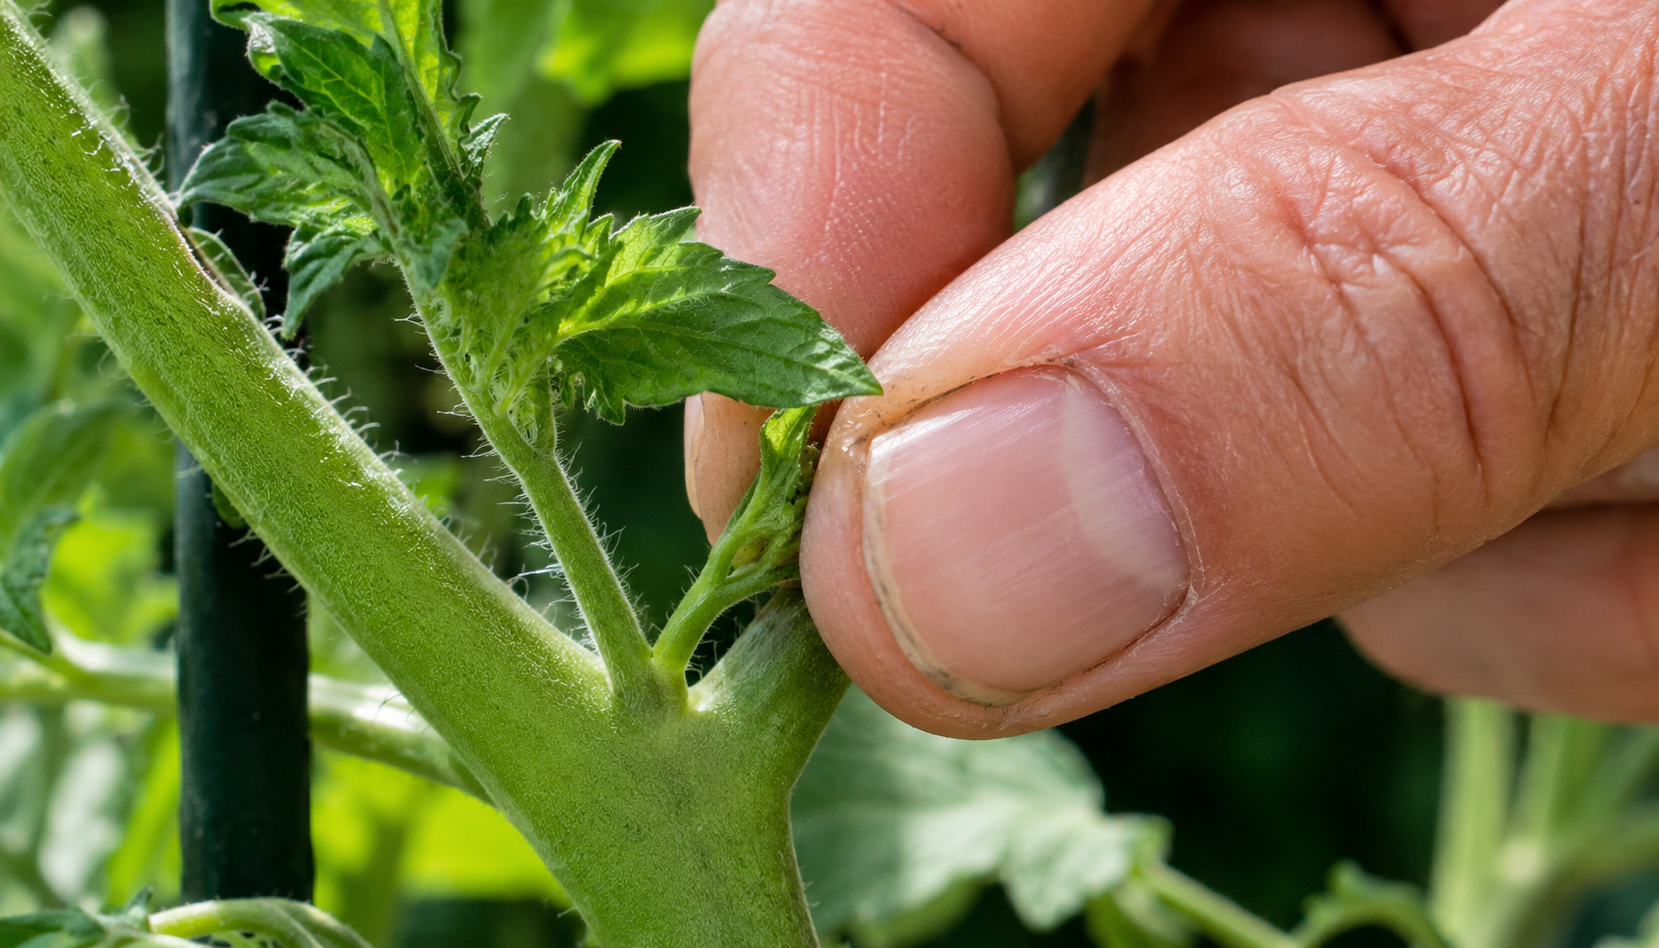
A sucker is a small shoot that emerges from the axil—that is, the junction where a side branch meets the main stem. If left to grow on an indeterminate variety, each sucker develops into a full-fledged branch that will, in turn, produce its own suckers. The end result is a dense, tangled plant that devotes almost all of its energy to producing leaves rather than fruit. The University of New Hampshire Extension confirms that selectively removing suckers increases harvestable yield and drastically reduces fungal diseases by improving air circulation through the foliage.
12. Remove lower leaves as the season progresses
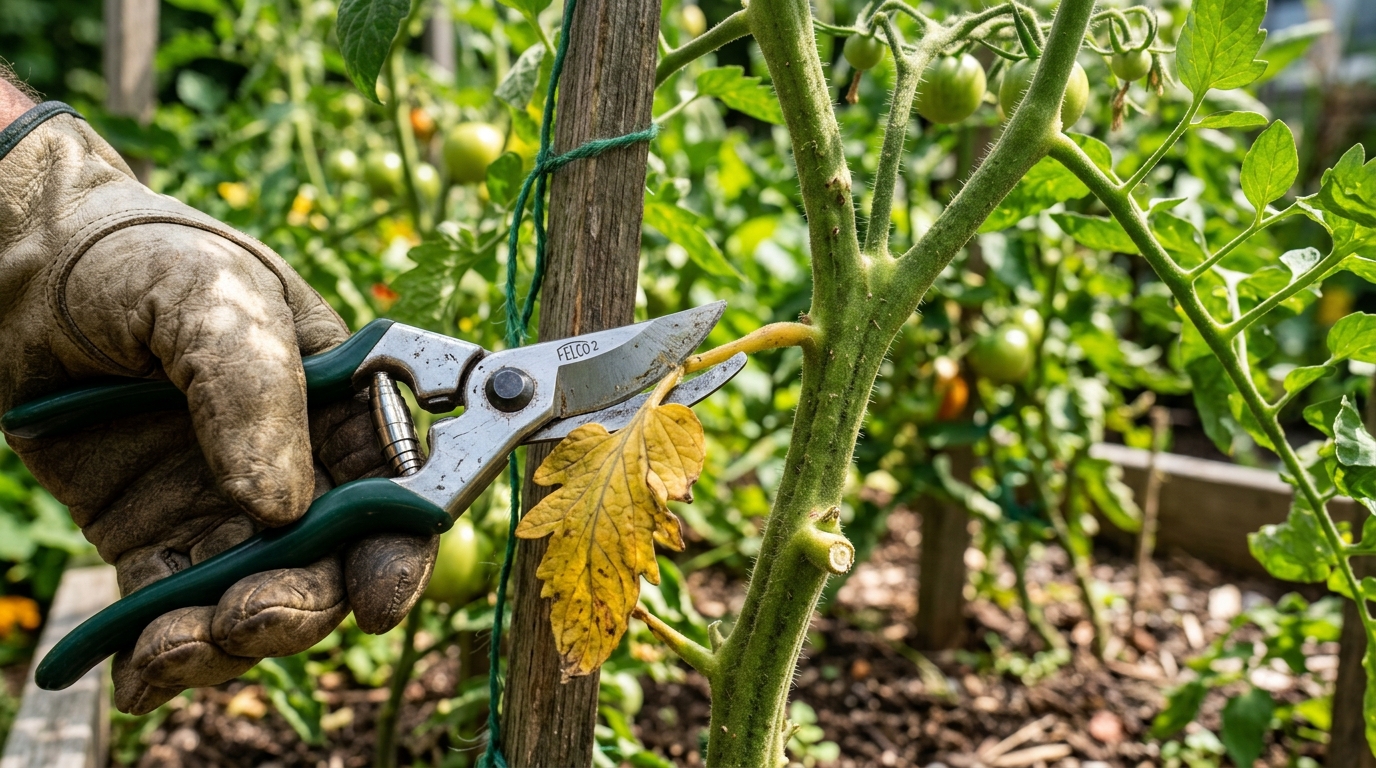
As the plant grows taller, the leaves near the ground lose their productive value while their risk level increases exponentially. Once the upper foliage closes in above them, these leaves near ground level receive only minimal direct sunlight and contribute almost nothing to the plant’s overall photosynthesis. They then become an unnecessary burden on the development of the fruits located higher up.
13. Try companion planting with basil and marigolds
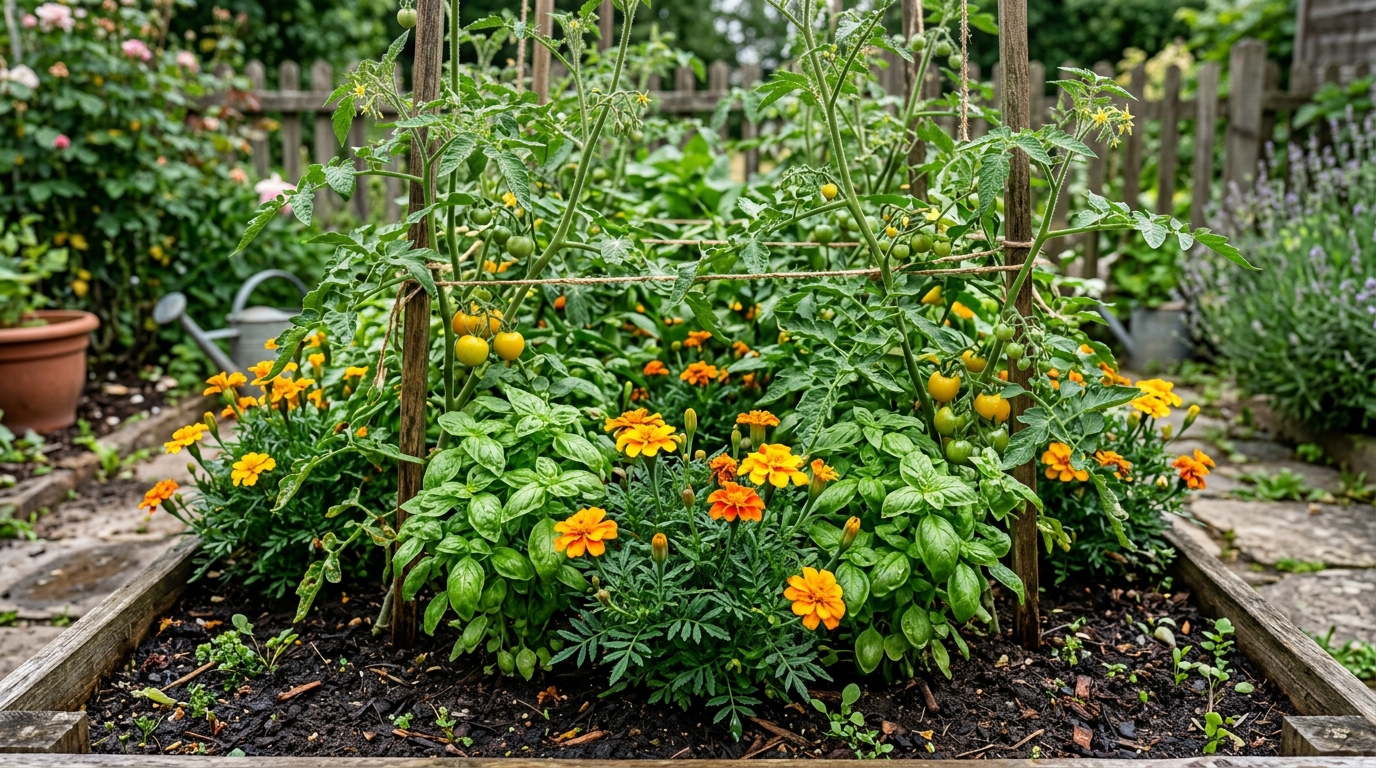
To ensure that both tomatoes and basil have sufficient space for root development, they should be spaced 38 to 50 centimeters (15 to 20 inches) apart. This spacing allows both crops to thrive while ensuring the effectiveness of basil’s repellent properties at the foliage level. For a multi-layered approach, marigolds can also be planted alongside the basil to enhance these protective benefits. Their roots produce compounds that inhibit soil-dwelling nematodes, while their flowers attract predatory insects that feed on aphids. A border of marigolds combined with interspersed basil thus creates a layered, chemical-free pest management system that requires no active maintenance once the initial planting is complete.
14. Watch for signs of magnesium deficiency
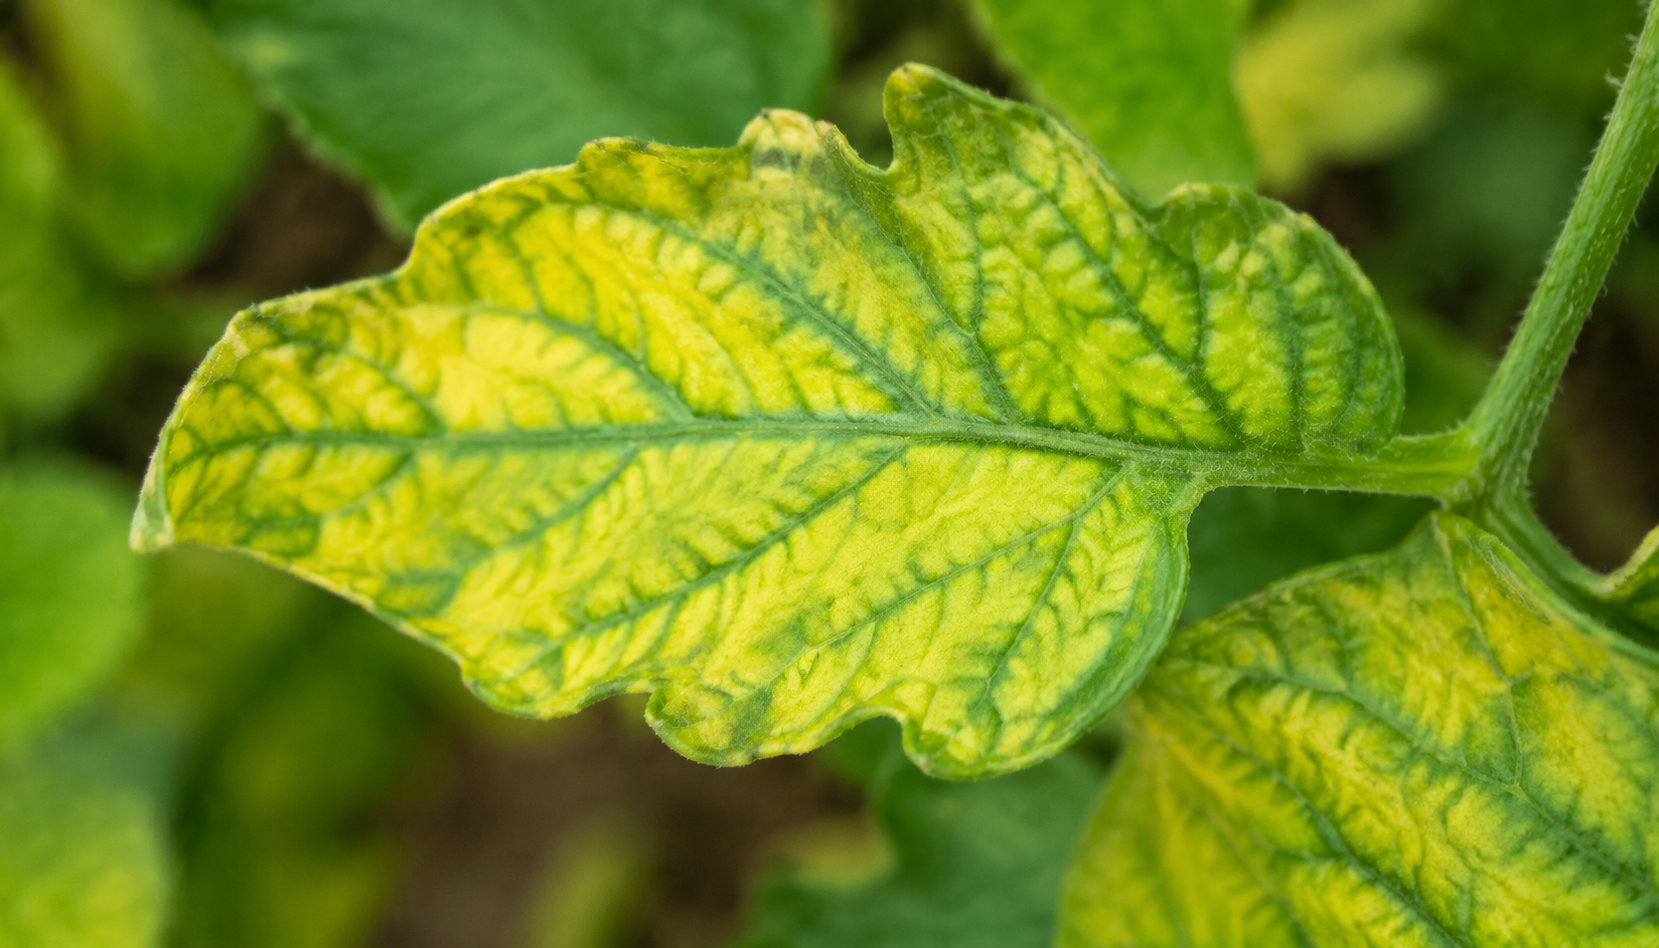
To remedy this, the use of magnesium sulfate—more commonly known as Epsom salt—is frequently recommended. However, it is essential to conduct a soil test to confirm the deficiency before applying it blindly. In fact, the dreaded apical necrosis is often caused by a lack of calcium, a condition that can be triggered when excessive levels of magnesium interfere with and block calcium absorption at the roots. A basic soil test is very inexpensive and eliminates any guesswork, thereby preventing a corrective measure—even one taken with the best of intentions—from creating a separate problem that is just as frustrating for the gardener.
15. Harvest at the right time to maintain production
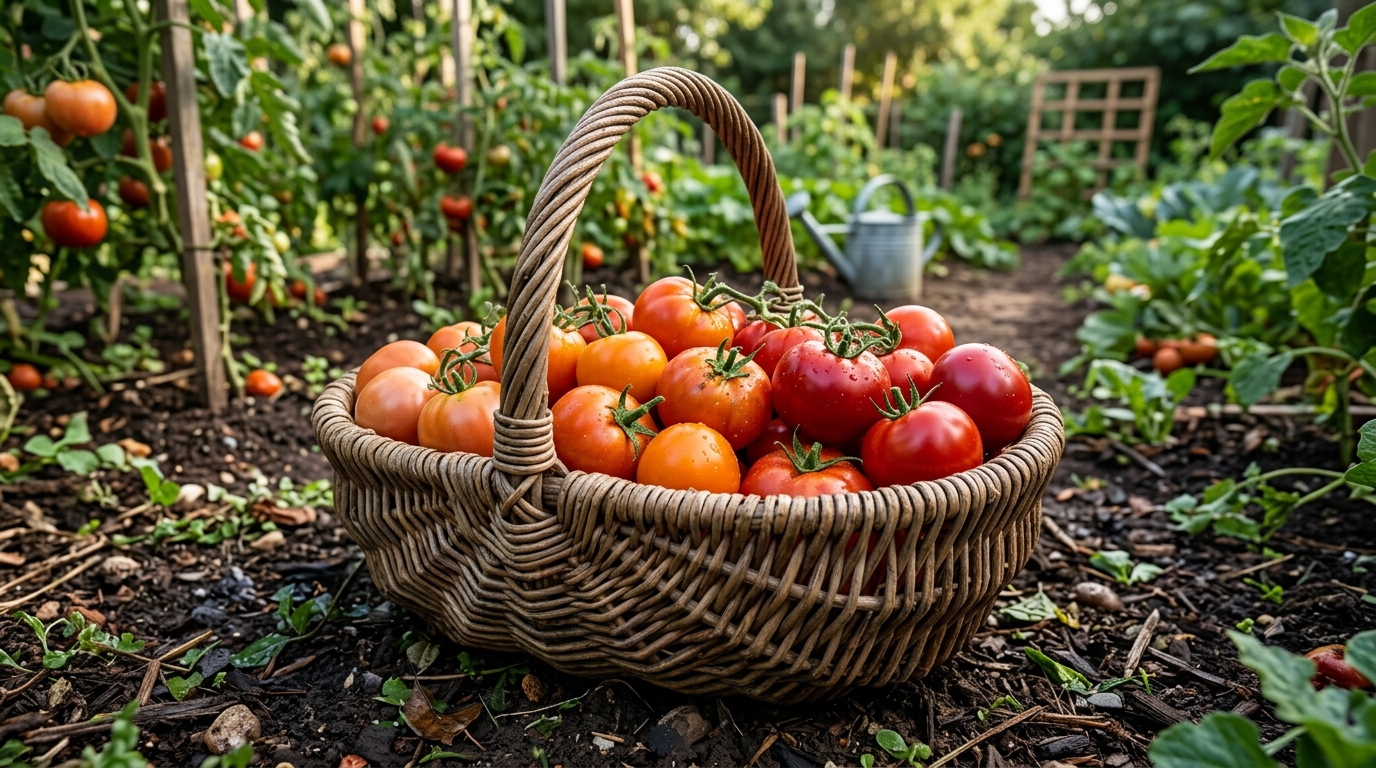
A tomato left on the vine past its peak of ripeness does not improve in any way. On the contrary, it softens, inevitably attracts pests, and sends a chemical signal to the plant indicating that its reproductive goal has been achieved. This internal message drastically slows the rate at which new flowers form and new fruits set. Harvesting the fruit promptly at the peak of its ripeness prevents this signal from interrupting the production cycle—a particularly vital precaution toward the end of the season, when maintaining continuous fruiting momentum is essential for maximizing total yield.
Picking the fruit slightly before it reaches its visual peak and completing the ripening process indoors at room temperature yields a flavor that is virtually identical to that of fruit that has ripened entirely on the vine. An additional benefit of this method is a cleaner garden with significantly less pest pressure, since overripe fruit on the vine is one of the main attractions for insects that then attack tomatoes still in development. Checking the plants every two days during peak season prevents the buildup of overripe fruit—a problem that escalates rapidly in hot weather and significantly shortens your garden’s productive window.
Consistency: The Key to a Bountiful Vegetable Garden
Although tomato gardening is the most common gardening activity in American households according to the National Gardening Association, it requires a genuine long-term strategy to move beyond a simple summer hobby and achieve abundant yields. Applying just one or two of these principles will already yield visible results, but it’s the integration of all fifteen steps that will transform the vitality of your plants. From the initial soil preparation to the careful observation of the foliage in the middle of summer, every step counts.
By gardening methodically—adhering to proper spacing, watering, and the specific nutritional needs of each growth cycle—you create an environment where diseases and pests struggle to take hold. All that’s left is to patiently monitor the ripening process and savor the fruits of a rigorous, well-orchestrated growing season.
Source: theheartysoul.com
15 Proven Tips for Growing Tomatoes and Getting a Bountiful Harvest